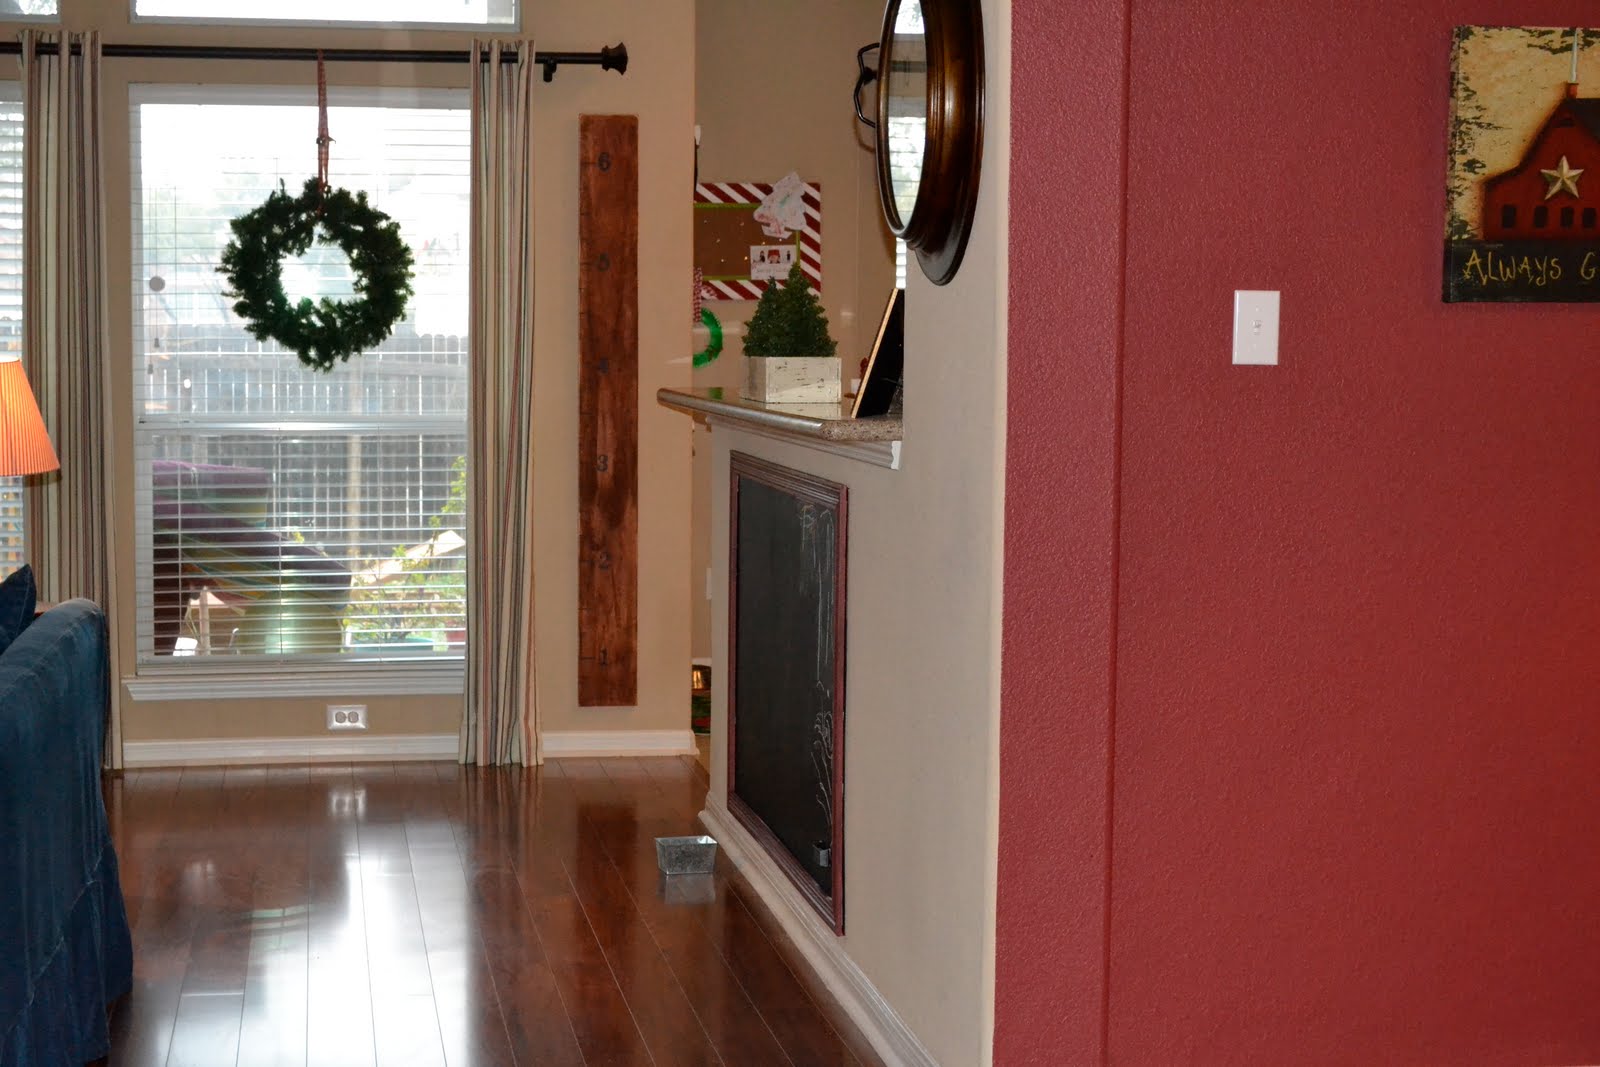
I saw pictures online and on Pinterest of oversized chalkboards and knew I had the perfect space for a really big one! We have had 2 black barstools in this space since we moved in; however, nobody ever sits on them- they just hold stuff and they made our walkway into the kitchen narrower than I would like. Plus, we spend a lot of time in the living room and kitchen and this gave our 3 year old a place to be active in the space. I wanted my board 5 feet x 3 feet so I knew to be economical, I needed to do it myself!

After some research and a few trips to Lowes, we bought a solid board made from pressed cardboard, like they use to make pegboard. They cut it down to size for us in the store and it cost less than $9. We also purchased basic molding in the lumber section to make our frame with. It was about $35 for three large pieces.

I painted our board with magnetic paint and then chalkboard paint. Using a large roller helped it to go on faster and more evenly. I did 3 coats of the magnetic paint and 2 coats of chalkboard paint. In hindsight, the magnetic paint may not work well under chalkboard paint. It can hold up a piece of paper, but not much more. I wonder if the chalk is thicker paint and covers the magnetic paint too much?

My husband cut the frame down to size using a simple miter box. I wish we owned a big saw to do it! I then began the painting process. I used leftover red paint from our dining room/living room wall. It was the color I wanted and I didn't want to introduce another shade of red in the same rooms. Although blurry, don't let red primer scare you! It always starts out pink!

Because I wanted this to look like an old chalkboard from a red school house, I then went back and sanded the trim. It had 1 coat of primer and 2 coats of red. I used Crushed Seed from Dutch Boy.

The final step was two coats of Valspar Antiquing Glaze from Lowes. You paint it on with a foam brush and then wipe it off. I wanted it aged and dark in the grooves of the molding.

Once our chalkboard was dry, we attached a drawer pull upside down to hold chalk and/or the eraser. This one was at Home Depot and is by Martha Stewart. The others I had found were rounded and didn't hold much chalk. Thank you Martha!

We wanted the chalkboard to be secure since little hands would be touching it, but also didn't want you to see a bunch of screws! So, we screwed the board into the wall before attaching the molding. We did 3 screws across the top, 2 on each side, and 3 across the bottom. We used brackets along the top only.

Our molding was then attached with thick mounting tape and covered up the screws that put the board into the wall. It looks seamless and is totally secure!

The real downside to our plan is that to move it or remove it we will likely destroy it! I am okay with that to have it look great on the wall everyday.

It fits in great with our house and gives personality to the plain wall.
Most importantly, Abby Lu loves it and has written all over it since it was hung! I love something that looks good and gives Abby and I a place to learn and play. Her ABCs will be taught on this board!

Let me know if you have any questions on making this board! I love it and am sure your family will too!
