Tuesday, December 6, 2011

Handmade Christmas: Gift Card Snow Globe

I hate to give gift cards. It is silly really because I never mind receiving them, but they just feel so impersonal when I gift them. When I saw this idea online, I knew it would help me get over my gift card concerns. Isn't this a cute idea!?!
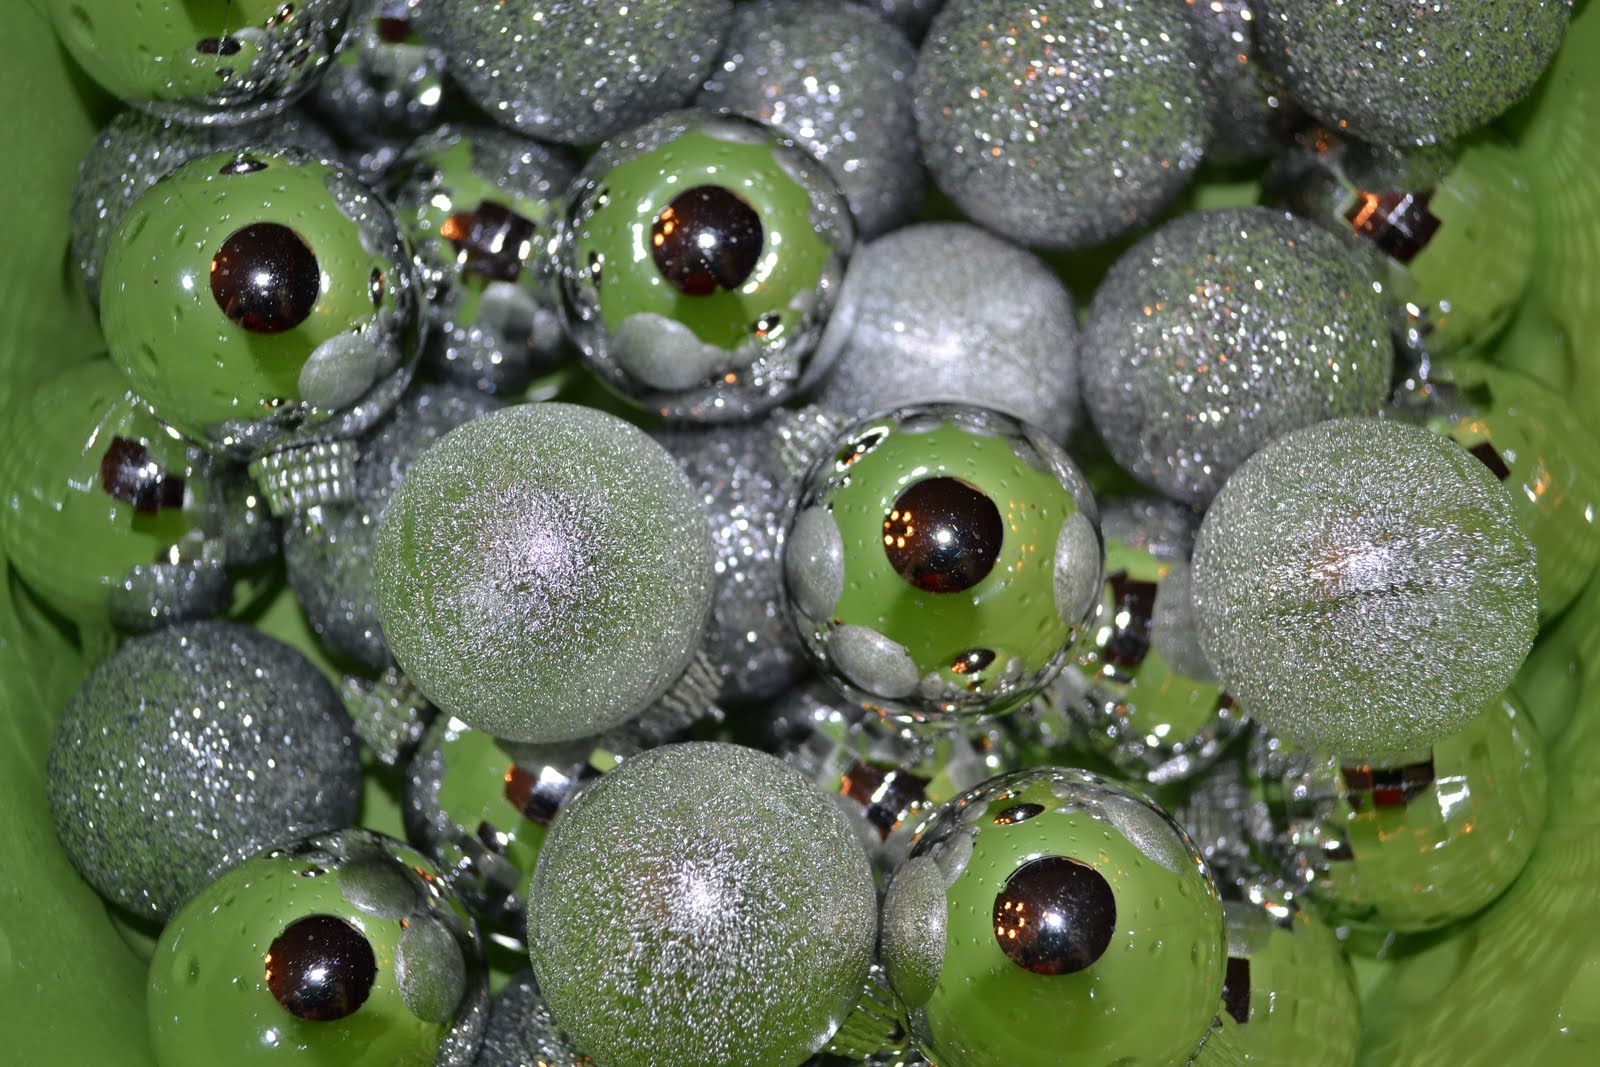
You need a few basic supplies- mason jars, glitter, gift cards, and a few items to place inside your jar. I bought gold angels and balls at Hobby Lobby. They are with the mini tree ornaments. Snowflakes would be beautiful, too!
Hot glue the gift card onto the lid. I did a long fat strip and then pressed the card into it. I then added a little hot glue on the front and back to support the card. Hot glue pops off plastic easy enough that they can use the gift card and still have a globe afterward!
Next you want to glue on your goodies. When purchasing, make sure you buy items small enough, without too much detail and with a base that can be glued down securely.
Now, fill your jar with a few floating goodies and glitter. I added three more balls and both silver and white iridescent glitter. Fill the jar with water- I used filtered refrigerator water. Nothing fancy.
Turn your lid upside down and screw on tightly. No need to glue it shut - the recipient will have to open it to get the gift card! I used a very subdued gift card from Starbucks, but you could get a bright colored one and use those colors in your globe decor.
The balls float to the top and glitter settles on the bottom until you shake it all up!
I added a small gift tag and matching ribbon to my jars. A tip, write the gift message on both sides when hanging a tag. That will make sure when it is tied up all tight that it isn't blank :)
These globes are for Abby's two Mother's Day Out teachers. Not counting the gift cards, they cost my about $4 each. I had the mason jars and only purchased the ribbon, tags, and the floaties and glitter. I also have lots of ribbon, tags, and glitter left over for future projects!

Monday, December 5, 2011

Handmade Christmas: Photo Coasters

This might be my favorite Christmas project. These look so professional- my husband was impressed. These are going to make one grandparent very happy and the other jealous!

Here is the supplies you'll need along with cardstock, tissue paper and Mod Podge. The tiles are at Lowe's or Home Depot and are in the flooring section, not kitchen backsplash tiles. I found the cork at Hobby Lobby. The tutorial I saw also used felt. The spray paint is clear finishing spray from Lowe's.

You'll want to cut white tissue paper just smaller than 8.5 x 11 and tape it to a piece of cardstock. I lined up two sides of tissue and taped them down and then cut the other two. It made it much easier.

Next, print your photos out onto the tissue/cardstock sheet you created. Cut out your 4x4 picture. It was much easier to cut both the paper and the tissue and then throw away the paper. A white photo background works best rather than a busy picture. I took mine at Picture People and just bought the CD of the photos to be able to edit them and reprint on tissue.

Using mod podge, place a thin layer across the top of your tile and then adhere your tissue paper printout. Carefully rub it flat pushing any bubbles out.

You will then do 3 separate layers of mod podge on top of the photo allowing it to dry in between. This serves as a glue and a coating so that the coaster can get wet.Next, spray a couple of coats of finishing spray over the coasters, again allowing it to dry.

Finally, add your cork or felt backing to each coaster.

I used hot glue to attach the cork. These pictures of my daughter had a white background and they allowed the detail and texture of the tile to come through. The second set I did had more detailed photos and the tile is more subdued.


These are easy to package with a wide ribbon and bow!

This project is more reasonable than you'd expect- the set of 9 tiles was $3.98 and the cork backs were $2.77 for 7. I had to buy acrylic for $4.50 and had the tissue, cardstock and mod podge on hand. So, they were around $7 per set of 4.

With social media, it is easy to lift candid pictures and you could surprise someone with pictures of them from their blog, Facebook, Flicker, etc. If you'd rather not do personal pictures, you could do celebrities, scripture, landscapes, favorite football team, quotes, landmarks from past vacations, etc. Lots of ideas!

Sunday, December 4, 2011

Handmade Christmas: Cherry Lip Gloss

When I saw homemade lip gloss on another blog via Pinterest, I knew it had to be like making homemade marshmallows- more work than necessary for a reasonably priced item you can buy at Wal-Mart! I was certain it would take crazy ingredients that you had to order online. I was wrong!
To make your own flavored and slightly colored lip gloss, melt a tub of Vaseline in your microwave. I ran it for a minute at a time and stirred in between. It took about 5 minutes to full melt.
After it is melted, pour in one small packet of unsweetened Kool-Aid and stir. I used cherry expecting it to be pink and when it dumped in purple I freaked out! As it stirred up, the color lightened a lot!
I then spooned the mixture into my little containers ordered here. They are just 35 cents each and shipping was fast and cheap!

As it cools, it becomes solid again and you can see mine has very little color. Unfortunately, it also had very little cherry scent! I would recommend another Kool-Aid flavor!

You can make a variety of flavors and even add in cake glitter to give your kisser some sparkle.

I then used my Stampin Up scallop edge circle punch to cut out my printed labels on sticker paper. If using a plain circle punch, I think a 1 1/2 inch circle would be best. If you'd like to use the labels I created, they can be downloaded free here.
These little lip glosses are great for young girls- perfect for sharing with lots of friends! The cost to make 10 containers of lip gloss, only $11. Perfect for little friends!

Saturday, December 3, 2011

Handmade Christmas- Fabric Covered Tins

I am suddenly realizing a problem with my handmade Christmas series... there will be no surprises under the tree for my family! I guess the surprise will be what items are for whom!

My husband loves Altoids, so when I saw these fabric covered tins online, I knew I had the supplies on hand to make these.
Using scrap fabric, I cut two rectangles a little larger than my tins and covered the tin with modpodge and then adhered my fabric onto the tin.
Using my fabric scissors I trimmed the fabric around the edges of the tin. I was fearful it would be messy or I wouldn't get close enough, but it worked out just fine.
Then, cut a long thin strip and adhere it to the sides of the tin. You'll want to start and end on the back side so your seam isn't visible. I did it with the lid shut to make sure I didn't interfere with the lid closing by adding the bulk of the fabric. Just open it up when you are done and wipe off the extra glue with your finger. It would suck to glue it shut!
Mod podge felt onto the inside and have fun using pinking shears to cut it.
In all, I spent $1 on these tins- for the felt. They wouldn't cost much at all even if you had to buy Altoids and a small amount of fabric. If you don't have Altoid tins on hand or want to make a bunch of tins, you can buy them here. Now it is time to give your cute little tins!
I can think of lots of uses for these little tins:

To hold a gift card

For a gym friend to keep their iPod shuffle and headphones inside their gym bag

For a friend that sews to keep small scissors or scraps inside

A place for jewelry when you travel or jewelry as a gift

A tin for homemade fudge or another small snack food

A Kleenex holder

What other uses can you think of?

Friday, December 2, 2011

Handmade Christmas: Sugar Scrub

Have you ever wondered how they make scrubs? You'll never believe how simple it is! What a great gift idea for teachers, friends, Moms in a MOPS group, hostess gifts, and more!
The moment I used this on my hands, I proudly proclaimed, "I'll never waste money on scrubs again." It is inexpensive, easy and really does work!

These are your ingredients- regular table sugar, olive oil (cheap is great!), and essential oil of whatever scent you would like. It is Christmas, so I selected peppermint. You could mix and match and make your own scents.

I found this at Whole Foods, an organic grocery store in the area. It was in the homeopathic/bath section and is different from peppermint extract in the spice aisle.
Pour 1/2 cup plus 1 T of olive oil into 1 1/2 cup of sugar. Mix well.
It will be yellow from the oil and smell like olives. ha! Add in your peppermint (or other) essential oil until it smells as strong as you'd like. I used about 15 drops.
I then added food coloring to make the scrub match the scent.
My mixture, minus 3 hand scrubs for the family, almost filled a pint jar, like those used in canning.
I'll be gifting these to girlfriends and added a fun Christmas fabric and ribbon on the lid. Just cut your fabric a little bigger than the lid in a square and use your pinking shears. I created labels for my jars and printed them on full sheet label paper I found at Office Max. If you like my labels and would like to use them, click here.
In total, I spent $20 on the supplies since I had mason jars on hand and can make about 10 jars. A very inexpensive gift for friends and family. If you need to buy the jars, it still should cost you well under $5 each.

I originally found the sugar scrub here via Pinterest. Her "recipe" is double mine which would be great when making large batches for gifts. She also did a great job decorating the cute bottles with scrapbook paper. Here is another blogger with 24 different recipes and printables- you have lots of fun options!

Enjoy!

Thursday, December 1, 2011

Handmade Christmas: Applesauce Ornaments

Have you ever made cinnamon ornaments?
It only takes a couple of items at the grocery store and a few supplies you likely already have to make 10-15 cute ornaments perfect for a child to share with friends.
The ornament "dough" is made from a large bottle of cinnamon and a little bit of applesauce to serve as the glue. You mix and mix and mix!
Once it is mixed and taken on a dough form, you roll it out between 2 sheets of saran wrap and use cookie cutters to make your shapes.
It amazingly doesn't stick to the saran wrap at all!
We bought a dancer to use and share these with Abby Lu's dance classmates, but she was too detailed and her arms were too skinny! I found that hearts, stars, and crosses worked much better!
I found the edges were cleaner when I pulled the excess dough off while the cookie cutter was still in place. Once it is cut out, just use a straw or chopstick to poke a hole in the top to help with hanging the ornament later.
After they are all cut out, the directions say you can bake them or just leave them out to dry over the course of a few days. We did that and it worked just fine.
As they dry, they'll lighten in color.
In total, I made 12 ornaments (throwing out the dancers with broken arms!) and only spent $8. If you have to buy a cookie cutter, your cost will go up slightly. These would be fun accessories on the outside of a wrapped gift and make the room smell great.
Happy Gifting!

Wednesday, November 30, 2011

Handmade Christmas: Ornament Ball Wreath

As a new stay at home Mom, I am trying to find fun crafts that my 3 year old can help with. I like things to look perfect, but the memory of making something she can be proud of is a better feeling. I am learning :)

The ornament ball wreath is MUCH easier than it looks and really can be done by a small child. I think this would make a great hostess gift, just bring a small 3M hook to hang it for them. You could also surprise a friend by leaving it with a little tag on their front door. Since Abby was part of this one, it'll stay with us and likely be on her bedroom door. I originally found this idea here- her wreath is beautiful!
This is your simple list of supplies- big balls and little balls, ribbon and a clothes hanger. I bought some additional icy looking picks, but didn't end up liking them.
To help Abby, we placed 36 small silver balls in a bucket. I thought we'd need small ones to fill in the little gaps. These were $4.99 per 18 balls and I got them 50% off at Hobby Lobby.
The big colorful balls were 45 for $15 at Wal-Mart. I let Abby pick the colors. I think a silver and gold wreath or a lime green and red would look even better! These balls are the shatterproof kind which is the greatest!
Your wreath form is simply a wire hanger. Reshape the hanger portion into a circle and then undo it at the top where the end is wrapped up. That opens is up to allow you to string the ornaments. I would do a couple big ones and then throw in the silver. Abby got to pick each color and I tried to keep my mouth shut while fearing all the pink would be on one side!
Don't worry if you can see the hanger. You'll see it on the left and then a little twisting of the ornaments allowed me to hide it.
I love the different textures these ornaments provided. Think about that when shopping!

The final step is to close up the hanger by twisting the end back around the hanger. I think wrapped the exposed top in purple ribbon and tied a simple bow on the wreath.
Happy Wreath Making!